

How To Draw Histogram With Categories In Python
A histogram is a graphical representation unremarkably used to visualize the distribution of numerical data. When exploring a dataset, you'll ofttimes want to become a quick understanding of the distribution of certain numerical variables within it. You can practise this past using a histogram. A histogram divides the values within a numerical variable into "bins", and counts the number of observations that fall into each bin. By visualizing these binned counts in a columnar way, nosotros can obtain a very firsthand and intuitive sense of the distribution of values within a variable.
This recipe will show y'all how to go about creating a histogram using Python. Specifically, you'll exist using pandas hist() method, which is simply a wrapper for the matplotlib pyplot API.
In our example, yous're going to be visualizing the distribution of session duration for a website. The steps in this recipe are divided into the following sections:
- Information Wrangling
- Information Exploration & Training
- Data Visualization
You can discover implementations of all of the steps outlined beneath in this example Manner report. Allow's get started.
Information Wrangling
Yous'll utilise SQL to wrangle the data y'all'll demand for our analysis. For this example, you'll exist using the sessions dataset available in Manner's Public Data Warehouse. Using the schema browser within the editor, make certain your data source is set to the Mode Public Warehouse data source and run the following query to wrangle your data:
select * from modeanalytics.sessions Once the SQL query has completed running, rename your SQL query to Sessions then that you can identify it within the Python notebook. You can practice this past navigating to the 3 dots adjacent to 'Query 1" in your editor toolbar and clicking "Rename."
Data Exploration & Preparation
At present that you have your information wrangled, you're ready to move over to the Python notebook to ready your information for visualization. Inside of the Python notebook, let's start by importing the Python modules that you'll be using throughout the remainder of this recipe:
import numpy every bit np import pandas as pd import matplotlib.pyplot equally plt from matplotlib.ticker import StrMethodFormatter Style automatically pipes the results of your SQL queries into a pandas dataframe assigned to the variable datasets. Y'all can use the following line of Python to admission the results of your SQL query equally a dataframe and assign them to a new variable:
df = datasets['Sessions'] You tin can get a sense of the shape of your dataset using the dataframe shape aspect:
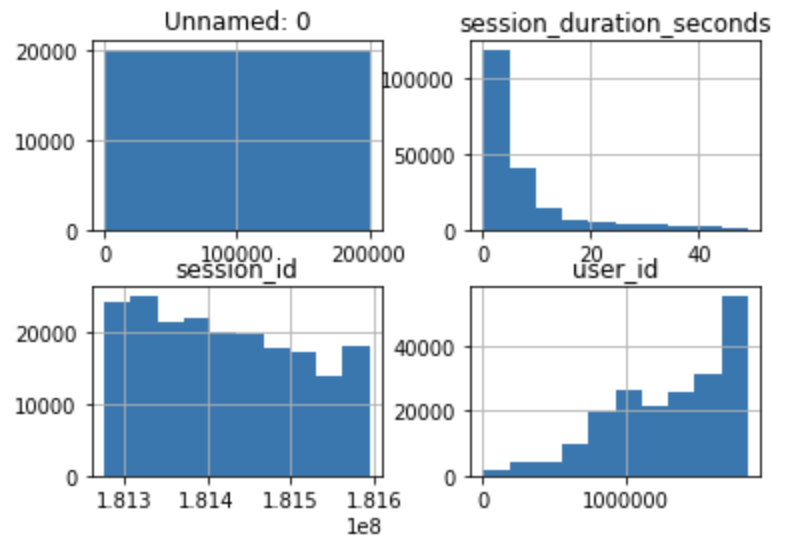
df.shape Calling the shape attribute of a dataframe volition return a tuple containing the dimensions (rows x columns) of a dataframe. In our example, you can encounter that the sessions dataset we are working with is 65,499 rows (sessions) by v columns. You lot tin can investigate the data types of the variables within your dataset by calling the dtypes attribute:
df.dtypes Calling the dtypes attribute of a dataframe will return information near the data types of the individual variables inside the dataframe. In our example, you can see that pandas correctly inferred the data types of certain variables, just left a few every bit object information types. You have the ability to manually cast these variables to more than appropriate data types:
# Information type conversions df['created_at'] = df['created_at'].astype('datetime64[ns]') df['user_type'] = df['user_type'].astype('category') # Show new data types df.dtypes At present that you have your dataset prepared, we are ready to visualize the data.
Data Visualization
Pandas hist()
To create a histogram, we volition utilize pandas hist() method. Calling the hist() method on a pandas dataframe volition return histograms for all non-nuisance serial in the dataframe:
Key Histogram parameters
Most of the time, when visualizing information, you want to highlight specific variables. To do this using pandas histograms, you would need to utilize it'southward parameters. Beneath are some of the most common pandas hist() parameters:
- column: the specific cavalcade(s) you lot want to create a histogram of
- by: the parameter on which to carve up your information; this produces multiple histograms displaying each group
- bins the number of buckets your data will be grouped by (the number of confined in your histogram); pandas automatically creates bins if not specified
Since you are just interested in visualizing the distribution of the session_duration_seconds variable, you will pass in the column proper name to the column argument of the hist() method to limit the visualization output to the variable of interest:
df.hist(column='session_duration_seconds') 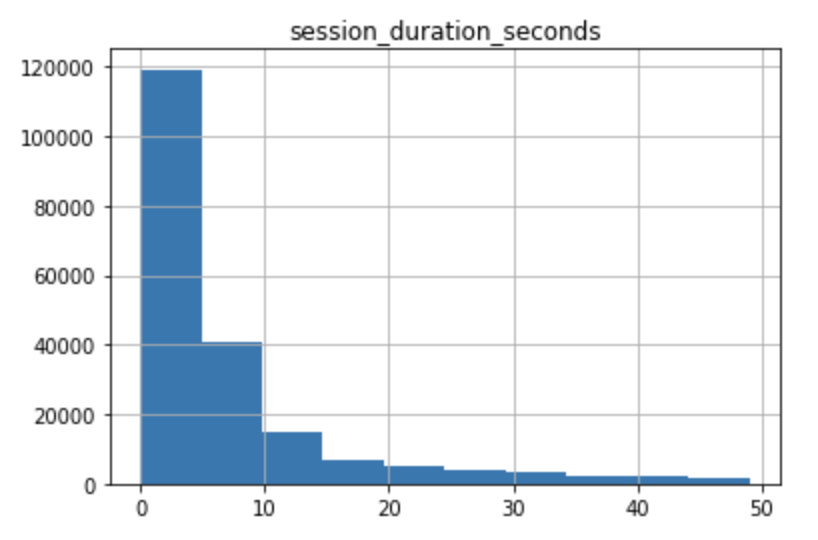
Yous can further customize the appearance of your histogram by supplying the hist() method additional parameters and leveraging matplotlib styling functionality:
ax = df.hist(column='session_duration_seconds', bins=25, grid=False, figsize=(12,8), color='#86bf91', zorder=two, rwidth=0.9) ax = ax[0] for x in ax: # Despine 10.spines['correct'].set_visible(Simulated) x.spines['tiptop'].set_visible(Imitation) 10.spines['left'].set_visible(Faux) # Switch off ticks x.tick_params(axis="both", which="both", bottom="off", height="off", labelbottom="on", left="off", right="off", labelleft="on") # Draw horizontal axis lines vals = x.get_yticks() for tick in vals: x.axhline(y=tick, linestyle='dashed', blastoff=0.4, color='#eeeeee', zorder=ane) # Remove title x.set_title("") # Set 10-axis label x.set_xlabel("Session Duration (Seconds)", labelpad=20, weight='bold', size=12) # Set y-axis characterization x.set_ylabel("Sessions", labelpad=twenty, weight='bold', size=12) # Format y-centrality label x.yaxis.set_major_formatter(StrMethodFormatter('{10:,g}')) 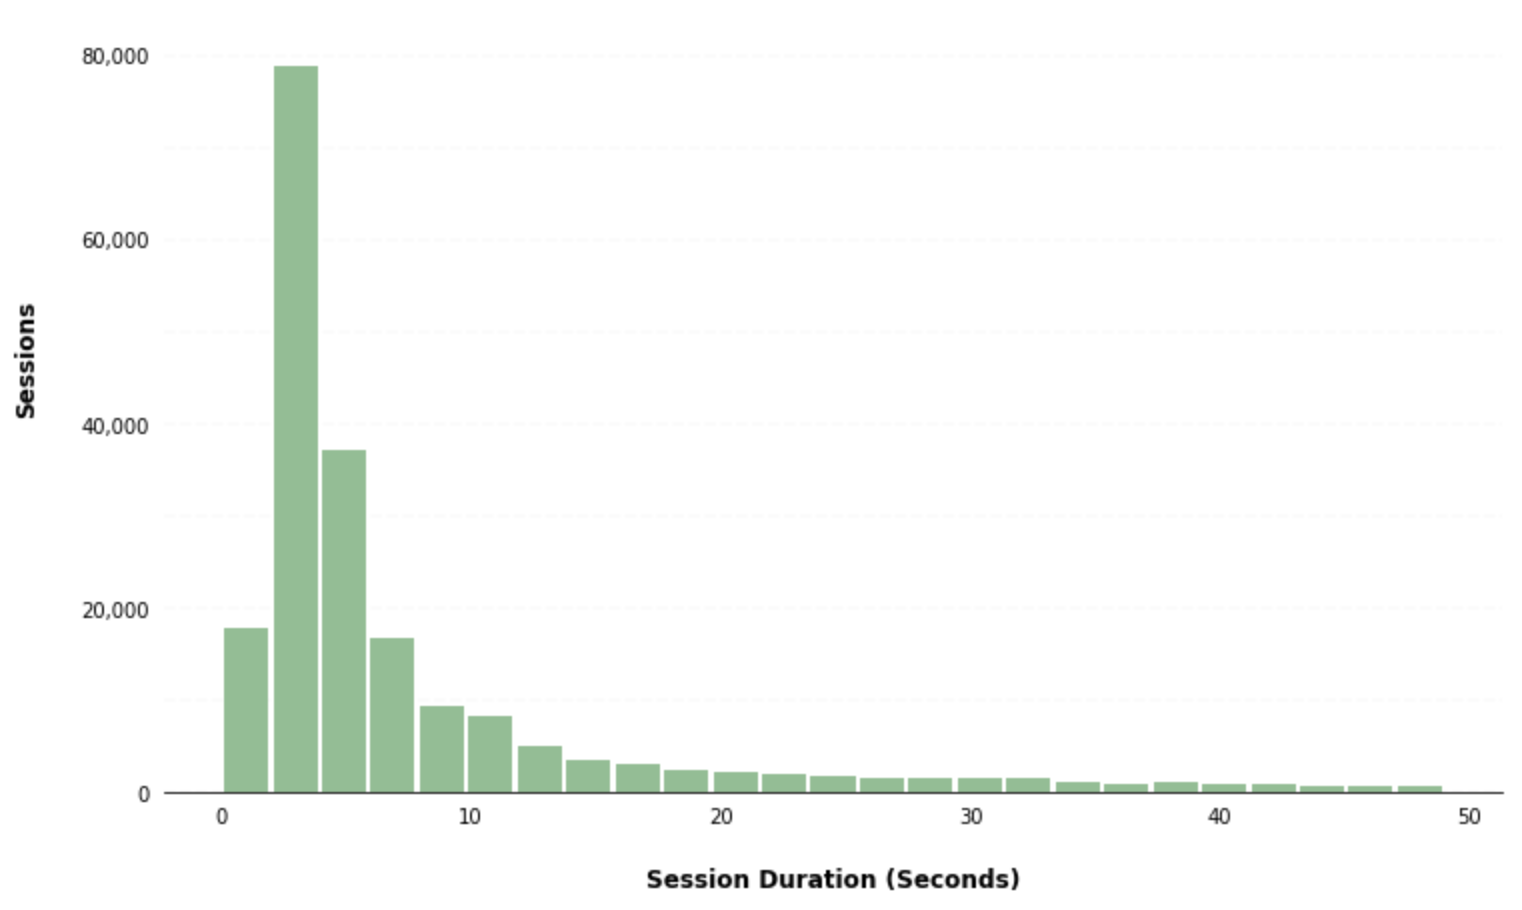
The pandas hist() method also gives you the ability to create separate subplots for dissimilar groups of data by passing a column to the by parameter. As an case, y'all can create separate histograms for dissimilar user types by passing the user_type column to the by parameter within the hist() method:
ax = df.hist(column='session_duration_seconds', by='user_type', bins=25, grid=False, figsize=(eight,ten), layout=(3,ane), sharex=True, color='#86bf91', zorder=ii, rwidth=0.9) for i,x in enumerate(ax): # Despine x.spines['right'].set_visible(Imitation) x.spines['top'].set_visible(False) x.spines['left'].set_visible(Imitation) # Switch off ticks x.tick_params(centrality="both", which="both", bottom="off", top="off", labelbottom="on", left="off", right="off", labelleft="on") # Depict horizontal axis lines vals = x.get_yticks() for tick in vals: 10.axhline(y=tick, linestyle='dashed', alpha=0.4, color='#eeeeee', zorder=1) # Prepare ten-axis characterization x.set_xlabel("Session Duration (Seconds)", labelpad=20, weight='bold', size=12) # Gear up y-axis label if i == ane: x.set_ylabel("Sessions", labelpad=fifty, weight='bold', size=12) # Format y-axis label x.yaxis.set_major_formatter(StrMethodFormatter('{x:,g}')) x.tick_params(centrality='ten', rotation=0) 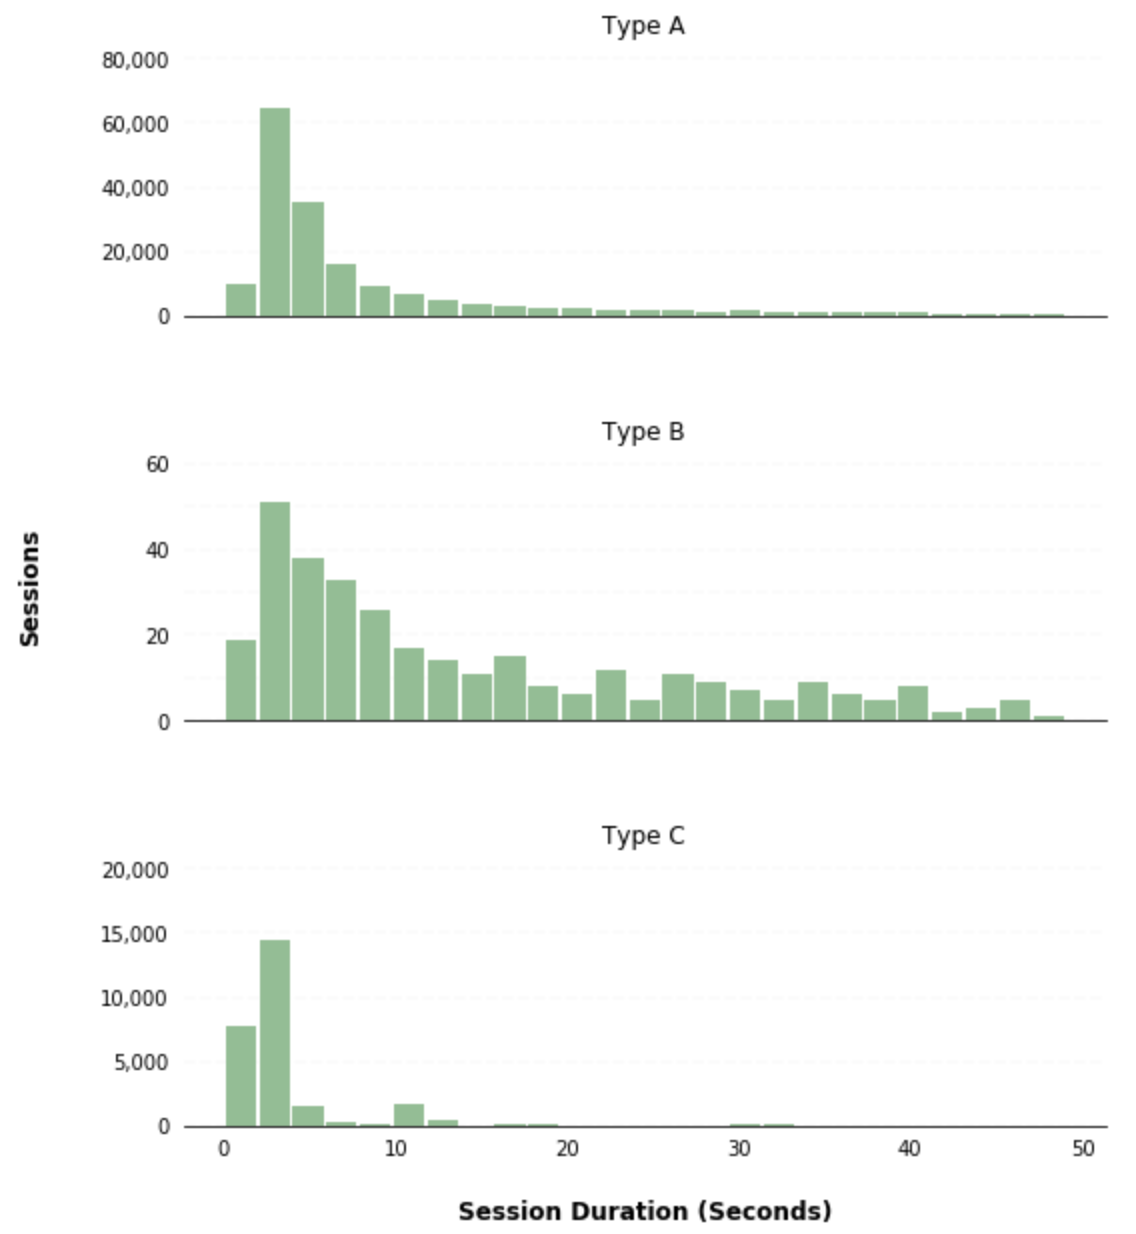

Source: https://mode.com/example-gallery/python_histogram/
Posted by: morriswitts1986.blogspot.com
0 Response to "How To Draw Histogram With Categories In Python"
Post a Comment